Tuesday, June 11, 2013

Challenging fun with Scrap Around The World

Hello all..
 
Been finally able to scrap for me... what you say... not design team work...
 
YES... have been wanting to play along with a few challenges these past few months and this month I decided now that I have wound down my design team commitments it was time to play.
 
So.. where did I start...
 
Well I just couldn't pass a chance to play along with this month's challenge at Scrap Around The World.
 
When I saw the Scrap Around The World mood board

 and sketch
I just knew it was crying out to be played with.

Must say I it was so much fun to play along because I was able to make so much mess. I had found the photo used in this layout on my daughters camera from our recent trip to Townsville.  It really matched in with the ideas I had flowing from the mood board. I also played around with the sketch a little to suit my portrait photo.
 
So here's my take on the latest Scrap Around The World challenge.

Mind you it is a little hard to see but I did get messy creating the base of my layout using my favourite napkin technique, texture paste, ink, stamps and some twinkling H2Os.
 
 I also created my top layer of my banner using some really yummy washi tape I found stashed away while cleaning my scrap room.
 
Thanks for the inspiration Scrap Around The World.
 
Check out everyone else's take the challenge.. I am sure you will be inspired as I was.
 
TFL, M x


Mad May Birthday Month

Just a few cards to share that I created for last month's round of birthdays..
 
May it seems is a crazy month in this household for birthdays.. and not birthdays of my own children.. but close family and friends birthdays.
 
I dove into the scraps box to create these cards as I have been slowly working through all the odds and sods here as I am sick of them all hanging around.
 
My first card was created for Kiah's school friend. I already had this fairy all coloured so just found some scraps to match and added a bit of bling. Super easy but made Kiah's school friend smile.. which is what it is all about.
 
The next two cards were created for my nephew. I created two cards as I made one for my parents to give to him also. I tried out one of my new Kaiser craft stamps for this one.
 
For the second card I actually used the stamp design packaging as part of the card. I removed the excess clear plastic and used it as a base for my hand coloured image. Super easy and great way to recycle too.
 
Till next time.
 
M x

Thursday, May 9, 2013

Challenging Fun !


I must say that each and every month I am having so much fun playing around with the challenges that Leanne has set for us to play with at Mad About Scrappin. They really have been getting me to think outside the box and this month's challenge is no exception.
 
This months Mad About Scrappin challenge is up as another month rolls over.
 
So without any further ado here is the challenge.
Here's my take on the challenge.
 
Once again I had a chance to recycle and make a HUGE mess.
I hate to throw any bit of a scrap pad out. So when I found the back of a patterned paper pad that I hadn't used I got messy with lots of paint and glimmer mist to create the base of my layout.
Then it was a case of using up some scraps of patterned paper, washi tape, texture paste and some ink to add some dimension to my layout... plus I think I was enjoying making a HUGE mess.
 
Now... I did struggle at first trying to work out how I was going to add a colour photo AND a black and white photo to this layout. However with a little thinking outside the box and some creative fun with Photo shop I was able to work this out. I edited the photo twice. Once to clean it up and selective colour to just highlight the image of my daughter and secondly to edited the photo again to make it completely black and white. Then I cropped the colour image and distressed both photos. Lastly the colour one has been matted onto the black and white photo using 3D foam tape. And I must say I love this idea. Create dimension and something just a little different.
 
So.. why not play around with this challenge this month and see what you can come up with.
 
TFL, M x


Wednesday, April 24, 2013

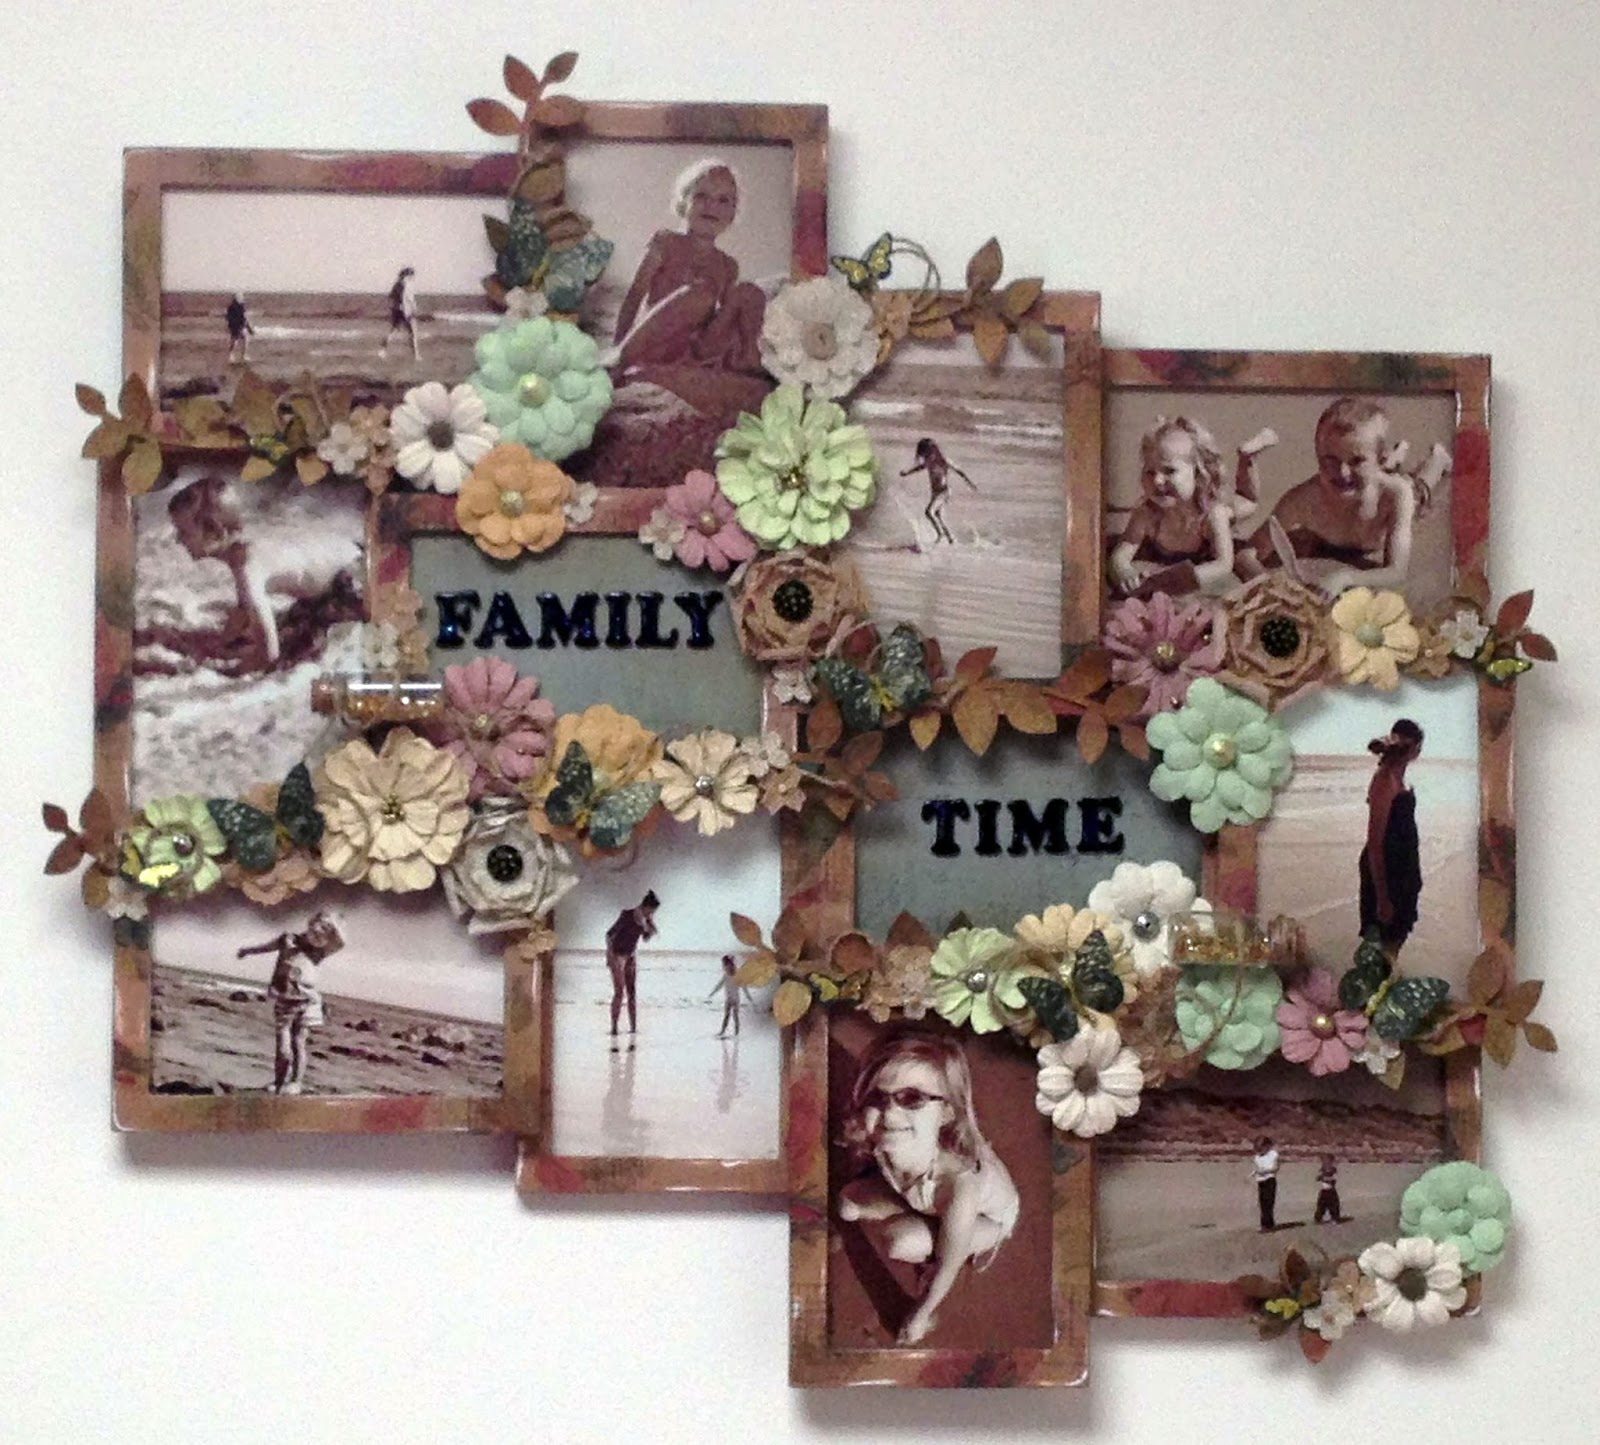
Altering frame fun


Hello everyone.
 
Back to share with you a little something different this time around.
 
I have started to work on decorating my new house with some of my scrapbooking work and decided that I needed some photos of my children to adorn the walls.
 
Now I didn't want to hang up ordinary frames I wanted something just a little different.
 
So.. I found this frame at my local discount shop and set to work with a little help from some  of my favourite Helmar products.
 

Here is what I ended up with ..
 
 
What to know how I did this ??

Full instructions are on the Helmar Design Team Blog so head on over to get the scoop.
 
Why not think outside the box a little and jazz up a frame yourself.
 
TFL, M x

Saturday, April 20, 2013

Making a Major Helmar Mess

Okay.. so I have had a chance to play around with this month's Helmar Challenge.
 
Mind you it really got me thinking that's for sure. I am not normally one to document daily or even weekly things. So I really had to have a good think about this challenge.

 
 So when I sat down and though about this challenge I started to notice that no matter what day of the week it is and no matter what I am doing I always have my trusty faithful coffee. To top it off my coffee is always in the same thermos cup at hands reach no matter what.
 
So for me the inspiration I used for my layout is my coffee. Bit of a challenge to scrap about as I don't normally choose something like this as my subject.
 
Here's what I created with this in mind.
 
I thought I would quickly share with you all how I created the base of my layout. Mainly because it was so much fun, I got to make a HUGE mess, I used up a pile of old chipboard stash letters and I got to play with some of my favourite Helmar products.
 
 For the base of my layout because I knew I was going to play around with a glue wash (made from 1 part Helmar Acid Free Glue and 3 parts water) I didn't want the base to warp. I don't know about you but I have LOTS of chipboard letters left over that I never seem to use because I don't seem to have all the letters I need in the same font when doing a title. So I worked out what I needed with the chipboard letters, spaced them out on the base and then adhered then once happy with placement using Helmar Acid Free Glue.
 
Then.. this was where the fun REALLY began and I mad so much mess..
Once the letters were dry I gave the whole thing a light coat of paint and hit it with the heat gun to speed up the drying process.
 
Once dry I then took single layers of patterned paper napkin I had cut into small squares and adhered it to the base using my Helmar glue wash. Once dry the red paint showed through and highlighted the negative of the napkin. I then coated the whole base with a light coat of red paint wash. to tone it down a little.
 
Next I wanted to  highlight the chipboard alphas to make them pop out of the layout. I grabbed a permanent marker and carefully coloured in each letter then gave the base a light coat of Helmar Krystal Kote Fixative.
 
The final touch I then added to my base was to lightly go over the letters with a white paint wash to highlight them and blend them into the background a little. I went over it a few times using a heat gun to dry it several times till I was happy. Then finally have the base a coat of Helmar Krystal Kote Matte Spray to finish the base off and take out any shine.
 
Had so much fun playing around with this challenge. Not only with the theme.. but because I had a chance to play around and experiment with some Helmar products to create my own dimensional base for my layout.
 
Why not have a play around with this challenge yourself.
 
TFL, M x


Thursday, April 11, 2013

Quote fun for Mad About Scrappin

Hello everyone.
 
Wow.. April already.. where is this year going...
 
Once again Leanne at Mad About Scrappin has come up with a fun filled challenge for this month


Must say when I first saw this challenge I felt it was such a fun one to play around with. Such a great way to showcase someone that you want to celebrate having in your life.
I love using quotes for my journal as I find it often saves me from having to find the perfect words to say what I want to on my layouts.
 
So with the quote in mind I got creative with a photo of a very special person in my life.
 
 
I also played around with the quote a little too and used part of the quote as the main part of my title for the page. I also used stars on my layout for embellishments made from recycled card, permanent marker and texture paste. Super simple and easy.
 
Oh.. and who says you can use pink on a masculine layout!
 
Why not mix it up a little and play around with this months quote challenge from Mad About Scrappin.
 
TFL, M x

Tuesday, April 9, 2013

And we have a winner !!!!

Would like to say thank you to everyone that joined me for  

 
As promised I have some blog candy to give away...
 
a page kit with full instrcutions to create this.
 
 
I have gotten my little helper to help me pick out a winner...
 
and
 
the
 
winner
 
is
 
..
..
..
..
 
 
Congratulations Marie Mazz !
 
If you could forward your postage details to me I can get your page kit in the mail.
 
Thanks again to everyone who left a comments and hopped along with us.
 
TFL, M x