Friday, February 28, 2014

Creative Inspiration - Week 9


Good morning everyone.

Wow ! Another month end is upon us. So hard to believe how fast the month's are rolling by this year. 

Anyways.. I am back this week to share with you a layout I have created using this Photo Freedom Kit.

This week I have used the photo sleeve included in the kit to create a Project Life look layout. I must say now that I have been playing around with these kits for a while I am quite liking these kits. I am finding them a lot easier to use than when I first started. I am also finding that I am now scrapping more than one photo which was a rarity for me. 

So here's the full layout I created this week.

I love that this kit has a combination of 6'x4', 3'x4', 12'x12' patterned paper and stickers. It makes creating so much easier. I have used one of the 6'x4' title cards to create the base of my title for this layout. When creating this style of layout I like to have one of the photo sleeve spots as my title. 

I also like to use on of the photo sleeve spots for my journalling. I am finding that since starting this style of scrap booking I am now journalling more than I used to. I find though that I still don't like the journalling to be the feature of the layout. So on this layout I have journalling on the computer and printed it directly onto a graph printed card. I like to be able to mix up the fonts a little to to create a little interest. I have also found that I don't always have many 6'x4' landscape photos so but journalling on one half of the 6'x4' graph card I am able to add an extra 3'x4' portrait photo easily.

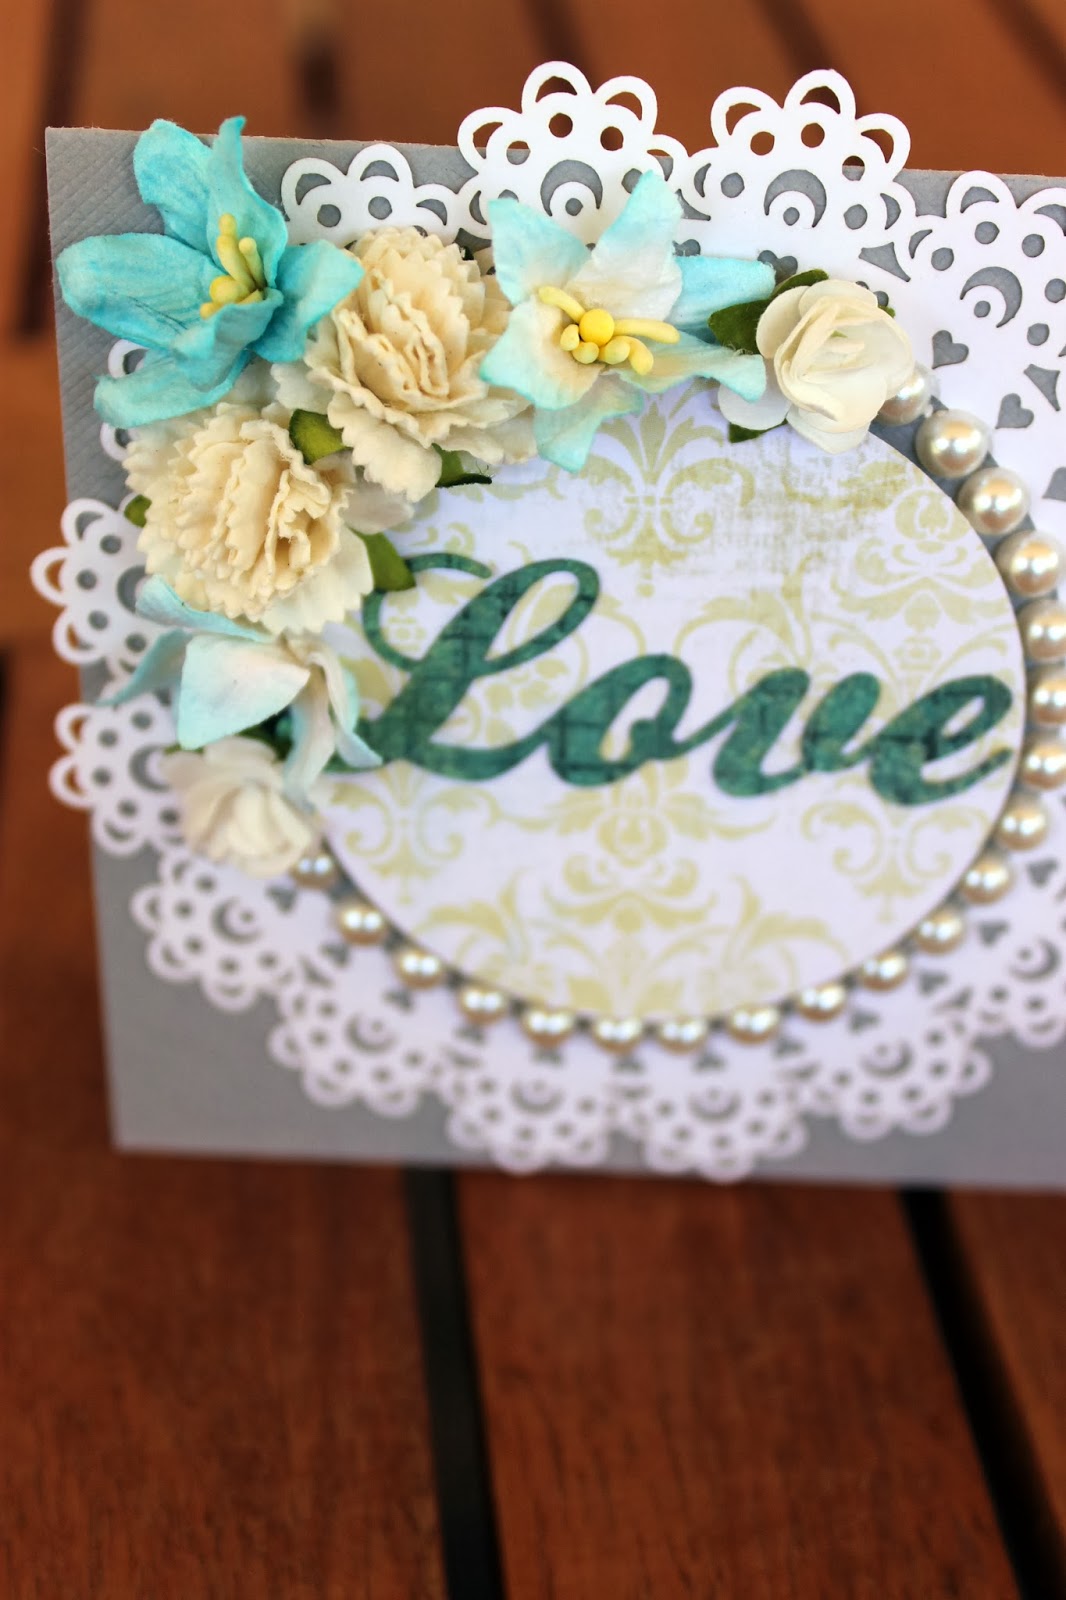
When creating these pages I tend to keep the majority of the 3'x4' photo sleeves for photos only. This time around I have matted my photos with some white card stock to tie them all in. because I didn't have any other smaller photos I wanted to use for this layout I have used one of the 3'x3' to create a sub title for the layout. By adding a paper doily and part of a glimmer misted frame it was done fairly easily. 

I have found that I like to add a little bit of embellishing on the photo itself. By cutting up some of the ornate frames I have added a piece to each photo with some washi tape and a hand cut heart mounted with 3D foam tape.

I am finding when creating this type of layout that I am using one of the 6'x4' photo sleeves for a full size photo. This would usually be the photo that normally I would have used to create a 12'x12' layout. It would be my favourite photo of the event/outing or people etc. Sometimes I edit the photo adding digital brushed words however this time around I have used washi tape, a piece of glimmer misted frame and a WOW laser cut chipboard word. 

My last card in this layout is usually another photo or I use it to sum up the layout itself. For this card I have used the plain coloured 12'x12' sheet. I have then randomly stamped it with butterflies using dove grey staz on. I found without the stamping the card was too pale for my liking to match in with the layout. I have then finished the card off with some washi tape, another ornate frame and a die cut chipboard tree.

Once again I have had a fun creating with this Photo Freedom kit from Mad About Scrappin. 

Why not give it a go yourself. 

Sometimes its not about scrapping the main event but about the little things that mean the most.

Till next week.

TFL, M x

Friday, February 21, 2014

Creative Inspiration - Week 8

Hello all.

Back this week to share with you what I have created this week using this fun filled Photo Freedom kit on behalf of Mad About Scrappin.

 This week I have been a little time for scrapping poor so decided to keep it simple as I still wanted to get some scrapping done. With that in mind I have created two sets of cards to add to my slowly increasing stash. I have once again gone with my card size of choice being 4'x4'.

Here's the first set that I have created.
 Have gone for the more feminine feel for these cards. I have found the Photo Freedom kit quite versatile and wanted to show that the kit works with either a feminine or masculine feel.

 The first card I have used one of the ornate frames available at Mad about Scrappin. I have adhered it directly onto the card base and cut a circle from the patterned paper which I have then adhered using 3D foam tape to create dimension. I have then misted and stamped one of the die cut words for my greeting. Then finished off the card with lots of flowers and pearls. 
 My second feminine card I have kept it simple with a little sanding on the edges of the patterned paper and a brush of ink here and there. I have then mounted another ornate frame using 3D foam dots. Then finished off the card with some tickets and a fabric flower.

 The second set of cards I have created I have created with a masculine feel to them. 

 With a little help from some ink and stamping I have grunge up the card a little. I have used one of the wording on one of the 3'x4' cards as my greeting and gone from there. After mounting the greeting using 3D foam dots I have added some garden twine and a die cut man.

The last card I have kept it simple with some inking and stamping again. I then added some washi tape to mix it up a little and some odds and edges from my stash to finish off the cards.

Some times its the simple things that make all the difference when you are creating cards for people.

Why not give it a go.

Till next week.

TFL, M x

Friday, February 14, 2014

Creative Inspiration - Week 7


Hello all.

Welcome back to another week of creative sharing on behalf of Mad About Scrappin.

Once again I have been playing around with another Photo Freedom kit by Carta Bella.
I must say I LOVE the colours of this one. And once again have found the kit to be VERY multipurpose.

So here's the layout I have created this week.
I love how this layout turned out. It has many layers and dimensions with all the glimmer mist, ink and embellishments that I have used. I must also say I am love with the ornate frames that I have used on this layout too.

By playing around with the card stock base I have been able to create a background that colour matches my layout perfectly. Using glimmer mist and a Kaiser Craft  vine template I have lightly misted two different colours onto the base card stock.  
I have then played around with a mixture of stamps and some dove coloured staz on ink. Then I have inked the edges of the white card stock and blended it inwards slightly. I used the same process with inking the edges on a pale grey card stock which I then mounted my white card stock base onto. I like doing this sometimes as I find it help create a frame for the layout.

I am absolute love with the ornate frames that Leanne has just got in store at Mad About Scrappin. I thought I would customise a few of them and played around with some glimmer mist. I wasn't too sure how they would hold up to glimmer mist at first and whether they would buckle. I am most pleased they didn't at all. The work so well with glimmer mist that I am definitely going to use it again. 

Then to finish off the layout I have added some matching flowers and some of the gorgeous paper from the photo freedom kit. 

I cannot wait to play around with the rest of this kit.

What techniques have you used lately ?

Well thanks for stopping by.

Back to the scrap desk.

TFL, M x


Friday, February 7, 2014

Creative Inspiration - Week 6


Wow ! So starts another month. Seems this year is going to whizz by too. 

I am back this week to share with you a layout I have created 
using the VERY last bits and pieces from this  Photo Freedom kit.

I have decided this year to do Project Life. Now I have seen it around for quite a few years and debated back and forth whether this type of scrap booking was for me. I know that it has been a hot debate on a few sites I visit. The costs involved, the different style of scrap booking it is, whether people can stick to it. The lists of topic go on and on. Now I have to admit that after playing around with this Photo Freedom kit that Leanne sent me from Mad About Scrappin I actually enjoyed the change. It was a REAL challenge!!! I had to get out of my comfort zone to scrap this way. I must admit I wasn't loving it at first. I didn't really think that I could get into the way of scrapping. Firstly because I don't using scrap events more the moment I capture with a photo.
So anyways... here's what I have created for you this week.

 Love the fact that the 12'x12' sheets are double sided and on one side they can be cut into their 4'x6' tags if you wish. Have mixed it up a little to create the title card for this layout. Wanted to create a real school feel and the colours worked really well with the colours of my children's school uniforms too.
 Have combine a little bit of digital scrap booking with this as I am currently in love with this font. I have created the journal card using Photo shop Elements and a 3'x4' Project Life card that worked really well with this kit. I have found since I have started Project Life I am now journalling more than I used to as well. This I have found a refreshing change.

 Another fun thing I have found is that I am loving mixing up mini alpha stickers to add little subtitles here and there. Makes it easier than having to journal on every card and says what I want to quick and easy.

So... have you tried a new direction with your scrap booking this year ?

Thanks for stopping by.

Till next week.

Happy Scrapping.

TFL, M x


Wednesday, February 5, 2014

Challenging fun !


Hello again Everyone!!
So excited with all the new things happening here at Mad About Scrappin.
Firstly the new Creative Team term starts with some amazingly creative people on board to share with you their work each month.
Secondly ...
Mad About Scrappin's NEW  Monthly Sketch Challenge!
  
So here's this month's sketch again....  
designed by Creative Team Member Amy.

And here's my take on the sketch.
 Have played around with some older papers have had found stashed away here. I loved this sketch. however must admit that I do get a little nervous still when I see more than on photo on the sketch. I love taking photos, however struggle with getting more than one photo that I like to put on a layout.
With this layout I have changed the sketch around a bit to suit me. I have gone with 3 of the same photo for this layout. I print my own so I could play around with them till I was happy. I also wanted them a certain size so that I was still able to see the Bo Bunny paper bag I had used under them. 

I randomly stamped the edges of the patterned paper using dove coloured Stazon and then distressed the edges with ink. This help to enhance the stamped images, but also added another depth to the layout. 
Next I really wasn't too sure whether I wanted to play around with ink, mists or texture paste for the next layer. However I knew I didn't want to lose the Bo Bunny paper bag. In the end I have dug out all my old alpha stickers that I have laying around. Now .. we ll have those horrid letter that you JUST CANT use. We those nasty letters are the ones that I have used here. Using my trusty permanent marker to tie them all together and adhered them randomly where I wanted them. 

Lastly I have to admit that I love some of the Kaiser kits lately. I love that they come with the sticker sheet that can be used to decorate the page. I have created my banner using some of the pennant stickers adhere to garden twine with 3D foam. So simple and finished off my layout perfectly.

Don't forget to check out the work of the rest of the creative team as the month goes on to get you inspired to play along too. 

You can now blog on your own blog and then link your layout using Inlinkz at the right hand side of the 
Mad About Scrappin blog page.
Challenge Rules 
Challenge is for Australian Residents Only.
- Entries are to be created exclusively for this challenge and must not be used for any other challenge or Design Team work.
- Entries must be added to the link by midnight on the last day of the month.
- Please link to the post that contains your challenge entry, not just your blog.
- A prize will be awarded each month as voted by the Design Team & a Random Draw Prize.
- Winners will be announced on the Blog and our Facebook Page

So what are you waiting for...
Get creating.
TFL, M x