Saturday, May 30, 2015

Creating with a kit - September Skies Kit


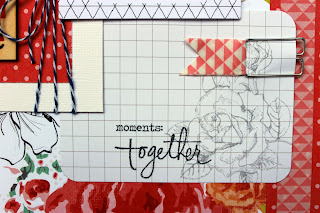
Back to share with you the first of two kits I have worked with on behalf of Mad About Scrappin.

This is the first of the two that I want to show you called September Skies.
This kit includes the following with full instructions for the 3 above layouts:
4 x Heidi Swapp September Skies Pattern Paper
2 x Cardstock (not pictured)
3 x Flair Buttons

1 x Roll of Washi Tape
1m Twine
3 x Set of Journal Cards
Peg
Hot Air Balloon Wood Veneer
Wood Veneer Frame - Shine
Bitty Bag
2 x Peonies 
Magnolia Flower
Wish Chipboard Word
Doily
Wire
Star Sequins

ONLY $15.00 
The first layout was quite a fun layout. I have played around with some fun photos of my girls and one of their good friends at the playground we took last month. I have created with the mixed patterns in this paper range to create pennant flags to embellish this layout. 

The title I have used hand cut the word happy and then mounted it onto some of the matching patterned paper and then hand cut it out again. 
I have also added some hand stitching to add a little detail. However you could do the same with a journal pen should you not enjoy hand stitching on your layout. 

I have then added some interest to the layout using a mix of matching buttons from my stash and one of the flairs from the kit to finish it off. 

I played around with the florals in the next layout. I loved the bolder colours in the floral pages. I have teamed that up with the bolder red orange papers from this kit to add a bit of contrast on the black cardstock. 

Once again I have created my own embellishments for this layout. I have hand cut some stars from the floral paper and then mounted them onto the bolder red orange dot paper. I have adhere them staggered using some 3D foam tape to create dimension. 

I have used a couple of stamped to add some details to a graph journal card from my stash to add a little bit extra to the page. I have then used a office paper clip and jazzed it up with washi tape. 
Super easy and fun to play with. 

The last layout I have played around with the blues and greens from the kit. I have added a journal card to this layout too. Half of the graph journal card has been stamped with a number stamp and the other half I have border punched. These I have then layered with a lined paper bag and added the wood veneer balloon for some interest. 

Once again I have played with another paper clip with washi tape. This I have added to another piece of  graph journal card and finished off with a flair from the kit.

I have finished the layout off with a few touches of washi tape to add a bit of interest. 

All three of these layouts were super easy to create and fun.

Head over to the Mad About Scrappin Facebook Page to grab one! 

Will share the next kit soon.

TFL, M xxx


Friday, May 29, 2015

Creative Inspiration - Week 22 2015


Hello... Hello...

Well... with the end of another month comes the last of another paper range to share.

I have very much used up every last teenie little bit of the Princess paper range by Echo Park this month. I loved playing around with this paper range for sure on behalf of Mad About Scrappin.

So here's the layout I have to share.
I have used up the last bit and pieces to create a layout about my daughter recent birthday party. The paper range worked really well with the party photos. The layout has a bit of a different feel to it as well with the "sections" that have been set up with this design. It was also a little different for me to use multiple photos and for the photos to be this small too. 

I really love the tea cup and teapot stickers from the matching sticker set as they tied in with the tea party theme of my daughters party. 

I have also added some stitched detail to the layout. It had added a patch work effect and has added to the whimsical feel to the layout. It was also a perfect way to tie all the little scraps of patterned paper together too. 

The matching stickers in this range as just so cute. I have used one of the stickers, the "girl" pennant flag, as the main part of my title. I have adhered it using some 3D foam tape and finished off the title with some large alpha stickers.  

I have finished off the layout by using the matching stickers in the range. To create a bit of interest, I have adhered them with 3D foam tape.
 AND.... I have to admit to not being a sticker person HOWEVER...I love this carriage sticker it is just so cute and the sticker are just perfect in this paper range too..

To finish off the layout I have added in the date the party happened. I love adding in the date on some of my layouts too using a date stamp. I find this the perfect way to document when the events happen too. 

Had a ball playing with the last bits and pieces from this paper range. I am a little sad that this is finished. 

However am looking forward to sharing with you a new paper range to start the next month. 

Well... better get back too getting my scrap work done. 

Thanks for stopping by.

TFL, Mx


Friday, May 22, 2015

Creative Inspiration - Week 21 2015


Wow! It's the end of yet another week. 

It all seems to flying by at the moment.

This week I have a very quick layout to share using the Princess -  Echo Park paper range.

Here's this weeks layout.
I have kept it simple this week as I have been super busy.  I have used some kraft card stock as the base for this layout to create a very different feel. 
I decided to work with the bolder pinks of this paper range as the little girl in the photo is rather bright and bubbly. I added a small paper doily to tie in a little white and then printed a digital stamp onto a graph journal card to add some feature to the background. 

I have used a mix of the matching stickers in the range create a bit of a journaling feature down the left side of the photo. Super easy and finished it off with the matching crown which I have adhered using 3D foam tape to add some dimension. 

What I love most about this kit is the cute stickers that match. They work so well to be able to embellish a page quickly. I have used a glittered frame from my stash to the bottom left of the layout which I have added the dress form too. But before I have adhered it I have added a sheer white ribbon bow to add a bit of texture to the layout. 

Super quick and super fun layout to create of a very bubbly giggly little girl I know.

Well back to it.

Till next time I share.

TFL, M x


Friday, May 15, 2015

Creative Inspiration - Week 20 2015


Hello all.

It has been a cold, wet and windy week here in Adelaide, South Australia.

Perfect weather to be hiding inside to scrap away in the warm. 

Once again I have been playing around with some more of the Echo Park - Princess paper range that Leanne from Mad About Scrappin sent to me. 

This week I have a layout to share with you all.
Have quite a few photos of my second youngest daughter in her Graceful girl costume and though this paper range would be perfect to scrap one of the photos. The paper range is quite girlie with all the pinks in the range so it was perfect for a layout of my princess. 

I have used white card stock as the base however found that it looked a little stark against the boldness of these papers. So I have inked the edges of the patterned paper and the white card stock. I have also stamped the top left corner using some dove grey staz on to add a subtle pattern in the background.

I have quite a few doilies in my stash including the latest addition of some metallic ones. I find the gold metallic ones a little harder to play with but I am in love with the silver ones. I thin k because silver seems to go with more. I have tucked half a silver doily behind the photo as the base for my embellishment cluster. 

I have ruffled some matching lace ribbon which has created a bit of dimension. I have mixed up some a variety of paper flowers, a paper butterfly and some bakers twine to embellish this page. 

To finish it off I have added a matching word sticker as my title adhered with 3D foam, scattered some white sequins and added the final bit of bling to my butterfly.

Love the final effect of all the girlie goodness. 

Well off to finish off some more layout to share real soon.

Have a super weekend.

TFL, M x


Sunday, May 10, 2015

Extra special - Mother's Day Share


Afternoon everyone.
On behalf of everyone here at Mad About Scrappin,  I would like to wish 
all the Mums, Angel Mums, Grand Mums , To Be Mums 
and most of all of the the Angel Mums 
a very very 

I have a quick share for you today that I had mentioned on Friday. 
I have created a few extra special cards from some of the Echo Park Princess paper range for MOTHERS DAY !!!!

 So here's the cards I have created for Mother's Day.
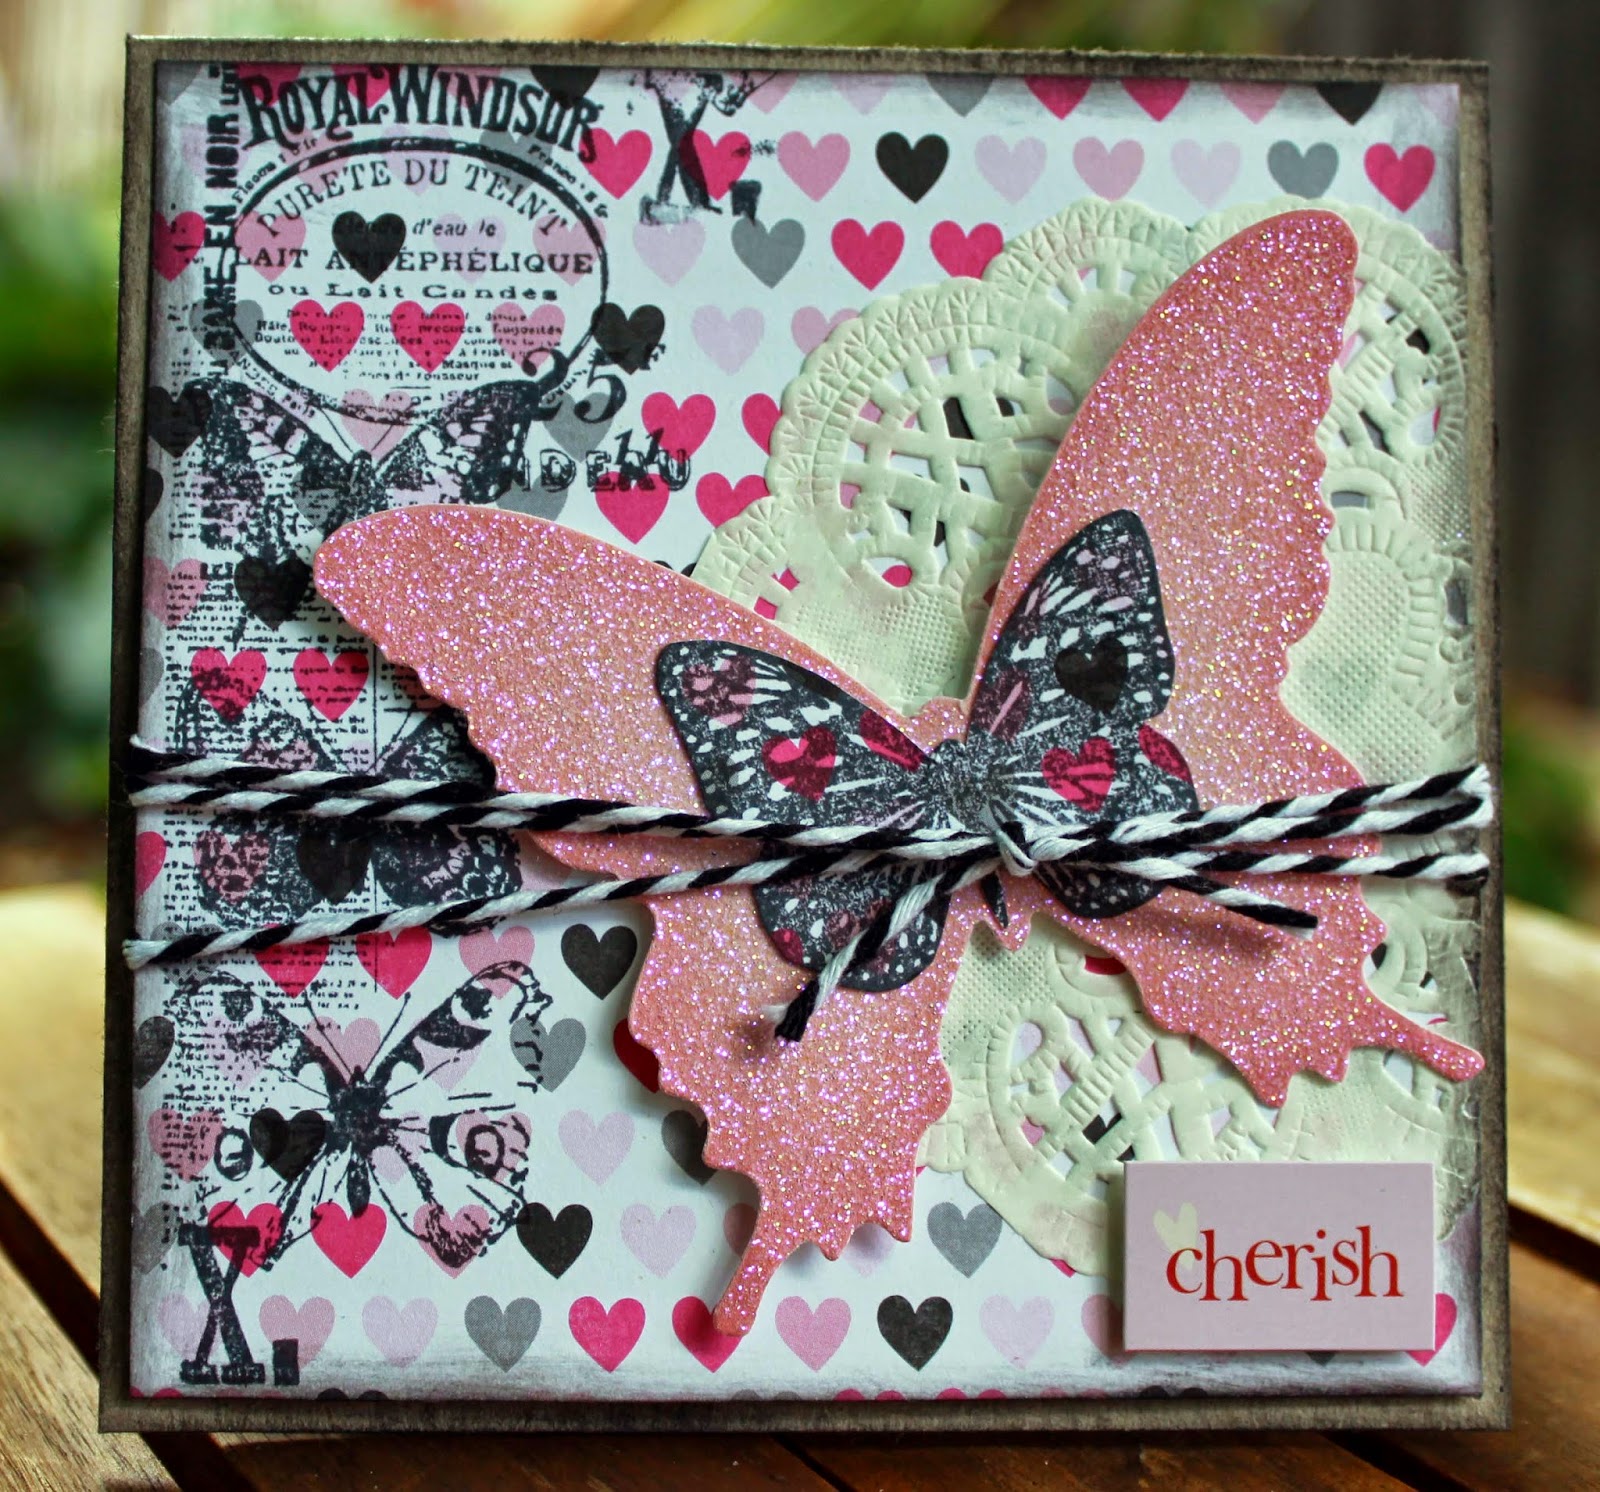
My first card I created on recycled card as a base. I have then used the heart pattern from the paper range and inked the edges before stamping to the left side of the paper vertically. I have also inked the edges of the recycled card base.

Then I have layered a medium sized paper doily and wrapped the card with some black and white bakers twine. I have then added a large glittered butterfly tucked under the twine. To finish if off I have stamped a smaller butterfly onto some of the heart paper and adhered it to the centre of the glittered butterfly and added in a sentiment from my stash. 

For the second card I have played around with some paper napkins that matched the paper range and have adhered them randomly in small pieces to a piece of white pasteboard. I have then matted it onto a light grey card stock and then to a black card base. 
To mix it up I have played around with a few of the mixed patterns from the paper range to cut out the hexagons and adhered them randomly across the card.

Then I have added some decoration to the card with a little help from a clock that I had in my stash that was on acetate and some organza ribbon. I then clustered a mix of paper flowers from Mad About Scrappin. I then finished it off with a sentiment sticker to add my greeting and a cute little metal filigree heart I had been sent to play with.

Both cards very feminine and  a little different.

Well better get back to relaxing for my Mother's Day.

Enjoy.

TFL, M x

Friday, May 8, 2015

Creative Inspiration - Week 19 2015

Hello everyone.

Just a quick share today as I am in the midst of birthday party prep madness here at the moment.

Have been crazily scrapping when I can 
and have been able to get into some more of the Princess paper range by Echo Park.

This week I have created quite a few cards for friends and family. I am sharing a few with you today and have a few extras to share with you on Sunday that I have created especially for Mother's Day.

For the first card I have used some recycled card to create the base of the card. I have then added a piece of white bird cage embossed card stock to begin creating some dimension. I have stuck to the subtle colours of this paper range too for this card and combined it with a paper doily and stamped bird cage. 

Then it was simply a case of clustering the paper flowers around the lace ribbon bow I have created on top of a larger floral ticket stub from Mad About Scrappin. 

For the next card I have used a white embossed card as my base. Layered some of the bolder heart print paper from the paper range with a script stamped doily. Then added in a cute grey striped paper bag  with a tag from Mad About Scrappin. Finally added a cute pink dotty tag I have had in my stash for ages that matched in well.


Then I have mixed it up with the embellishments a bit by mixing a larger fabric flower with a couple of smaller paper flowers to match the pinks in the paper. Then finished it off with a die cut butterfly from my stash.

For the last card I have started once again with a recycled card base. As I had a silver doily I wanted to play with I stuck to the black and white from this paper range. I have stamped roughly on one side of the patterned paper and inked the edges before adhering it. I then added the silver doily and some cute craft journal spot available at Mad About Scrappin too.

To embellish this card I have added a sheer ribbon and a smaller white satin ribbon which I have bowed to one side. I then added in a paper butterfly which I have blinged up. Finished with my greeting and it was super quick to finish.

Well better get back to finishing off costumes and party food. 

Till I share again on Sunday.

Enjoy.

TFL, M xxx


Saturday, May 2, 2015

Exciting Stuff !!!!!


Hello all.

I am most excited to be able to share with you my first post EVER on the Crafty Crusaders blog. 
I am looking forward to being able to share with you all what I have able to create using some of the goodies sent to my to play with. 

Now just to explain a little... one of my daughters is turning eight this month. 
For her birthday party she has decided that we are having an Alice In Wonderland Tea Party type of party with a bit of our own twist. 
Now... the twist is that for us there is A LOT of Alice in Wonderland things on the Internet to be able to create for a party. 
However we wanted it a bit more girlie in the twist so we have decided to create our own little bits and pieces for the table centre piece. 
With that in mind we started to chase up teapots to use for the centre piece of the table. As much as we wanted to use mismatch teapots, I wanted them to be personalised a little. 

I have already started the table centre pieces off with creating these goodies..

I managed to find one more teapot that I loved the style of that I just had to alter to finish off the table centre piece.

So with that is mind I would like to show you how I took this  patterned china teapot and made it our own. 

I started off the process by adhering two different napkins (just the single ply of the napkin that is patterned) directly onto the teapot using a glue wash and a #4 Shader Princeton Camel Hair Brush. I then adhered a paper doily that I had cut into quarters where I desired. Then I added a few more pieces of napkin to blend in the doily to the base. For the inner rim of the tea pot, top of the lid and the inner spout I used some Pebeo Studio Acrylic Paint #26 Mars Black to highlight them. I did use two coats to give a nice matt finish. This went onto the shiny surface of the teapot really well too.  

Now.. I found the napkins a little bit bright so using a #4 Shader Princeton Camel Hair Brush I painted the whole teapot with a white wash of  Pebeo Studio Acrylic #41 Vivid White. 
I then let the whole teapot dry before sealing it twice.

Then came the fun bit.  I gathered up paper flowers that I wanted to play around with on this teapot. I had some plain pink paper flowers that just didn't quite match the teapot colours. With that in mind I altered the flowers using a foam brush and some Pebeo Studio Acrylic #41 Vivid White Paint then a smidge of Pebeo Studio Acrylic #50 Magenta just on the edges . It really reminded me of the Queen from Alice in Wonderland when I was painting these.... painting the roses red and all that. 

You can see the large queen of hearts playing card I have altered with white napkin here that I have used as the base of the embellishment cluster. I applied a white wash with Pebeo Studio Acrylic #41 Vivid White over the whole playing card before embellishing over it.

Here you can see I have used some Pebeo Studio Acrylic Paint #26 Mars Black and a dry foam brush to highlight the rim of the teapot and the spout just a little. I have also added subtle highlights to the textured napkin over the whole tea pot too.

I can also tell you too that I have played around with a few of the other paper roses on this teapot too with some of my Mepxy Markers. Once the aqua roses and pink magnolias were adhered to the tea pot I wasn't really happy with the colour match. The aqua looked too green to match the blue of the napkins and the pink magnolia were originally very very pale pink.

I did  the same thing with my Mepxy Brush Markers to finish off this large rose. It was also very pale pink. Just a touch here and there of the markers to the edges and I finally got the effect I was looking for. 
Have had so much fun playing around with creating this teapot and thinking outside the box just a little. Cannot wait to be able to set the table up for the party now. Have one very excited little girl who LOVES her new teapots for her party.

Lastly I wanted to show you the quick card I created using a digital stamp from my stash I have printed onto some Canson Illustration  250 Paper and coloured in using the Mepxy Brush Markers. 

Layered a couple of digital stamps onto a Project Life Graph card for the base age card. then adhered this on some of the matching Teresa Collins paper range I used on the teapots. Added some paper flowers, a chipboard greeting and matching sheer blue ribbon. 

To finish the card off I have printed the little girl digital stamp from my stash onto some Canson Illustration Paper and coloured it very basically with the Mexpy Brush Markers to keep it simple. 
She was then adhered using 3D foam to give a little dimension.
Super quick but fitting with the Alice In Wonderland look.

Well off to play with my Mepxy Brush Markers and some more digital stamps I have printed off.

Till next time. 

Get Creative !!

Michelle W xxx